-
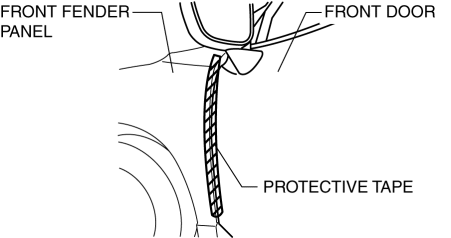
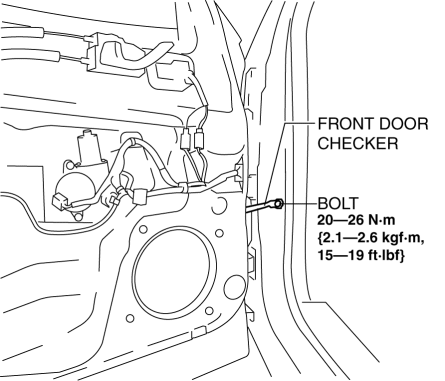
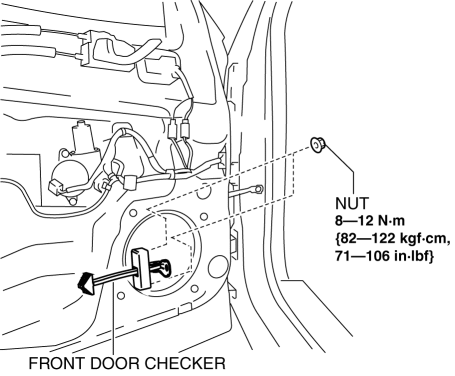
When the front door checker securing bolts are removed, the front door may open until it contacts the front fender panel causing the front door and the front fender panel to be damaged. Before removing the front door, overlap and adhere the protective tape to the position shown in the figure and be careful not to damage the front door and the front fender panel.


